Calculations of probe position and defects in UT ultrasonic testing
Choosing the correct location of the probe and calculating the distance required for a full scan of the weld is one of the requirements of the ultrasonic test, and the following must be considered:
One of the effective factors in choosing the angle of the probe is the limit of the distance next to the weld.
It should be kept in mind to calculate the correct distance by considering the weld specifications in a way that covers the entire weld volume.
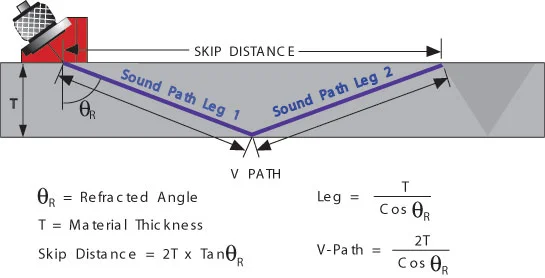
In Skip Distance calculations, like the rest of the ultrasonic calculations, the actual angle of the probe should be considered.
After the calculations, to ensure complete coverage, the appropriate amount for HAZ coverage should be added to the resulting number.
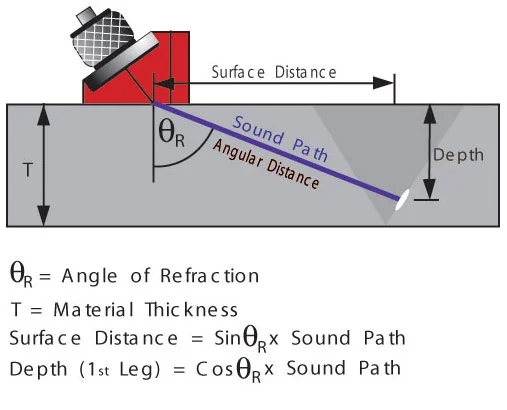
If there is a reflector in the sample under ultrasonic testing, the only data extracted for the ultrasonic inspector is the distance traveled by the sound, which by putting aside the data such as the thickness of the piece and the angle of the probe, it is possible to accurately calculate the horizontal position (Surface Distance) and depth (Depth). is provided
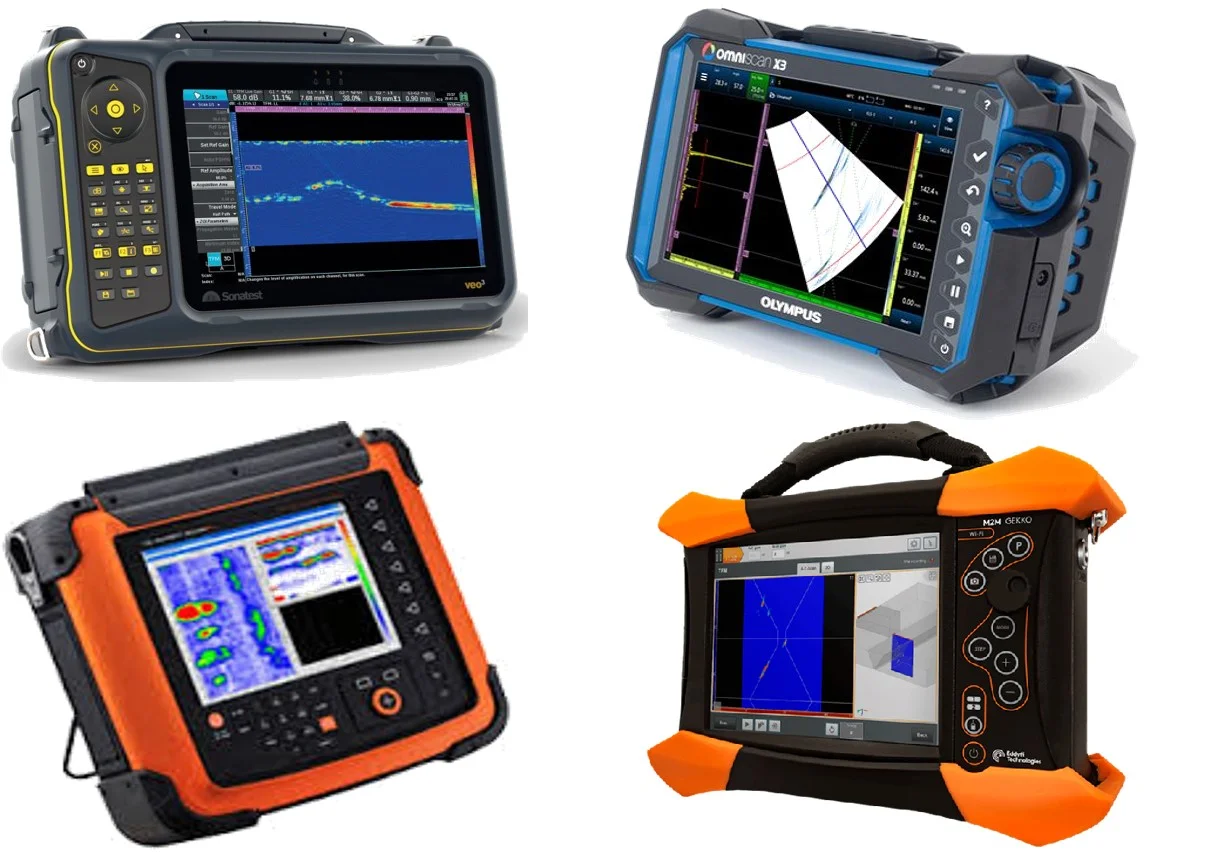
In modern ultrasonic devices, the calculation procedure is the same, and the distance traveled during the test is obtained, and the rest of the information, such as Actual Angle and Index, must be entered into the device before starting the test, and the following points must be considered.
The horizontal position (Surface Distance) is considered from the place where the sound exits from the probe to the Reflector image on the surface.
In order to calculate the reflectors found in Leg 2, it is necessary to calculate the depth of the reflector by removing one thickness. You can also subtract the depth number from twice the thickness and get the real depth of the reflector.
In digital devices, if the thickness of the part is entered, these calculations are done automatically, but it should be kept in mind that when the sound is returned from the welding cap, the device does not have the ability to recognize and may calculate the depth of defects incorrectly.
